

If you’re looking for a fun, engaging, and delicious activity to enjoy with your little ones, baking cookies inspired by Dr. Seuss’ The Lorax is the perfect choice. Not only will you create a batch of tasty treats, but you’ll also introduce your kids to the whimsical world of the Lorax and the valuable lessons it teaches about nature and kindness. The best part? This recipe is simple to follow and can be customized to make it as fun and colorful as your imagination allows.
In this article, we’ll walk you through every step of the way—from gathering your ingredients to decorating your cookies and sharing them with loved ones. Whether you’re a seasoned baker or a novice, this Lorax cookie recipe is designed to be accessible, fun, and full of flavor!
Table of Contents
Why Lorax Cookies Are Perfect for Kids
Before we dive into the recipe, let’s take a moment to explore why Lorax cookies are such an ideal treat to make with your children.
Connecting with Dr. Seuss’ Story
Dr. Seuss’ The Lorax is more than just a beloved children’s book; it carries an important message about caring for the environment and standing up for what’s right. When you bake Lorax-inspired cookies with your kids, you’re not only bonding over a fun activity but also fostering a deeper connection to these themes. The Lorax, with his distinctive mustache and vibrant orange fur, is the perfect character to inspire creativity in the kitchen.
A Simple and Kid-Friendly Recipe
This cookie recipe is designed with children in mind. It features easy-to-follow steps, minimal preparation time, and ingredients that are both familiar and fun to work with. Whether your child is mixing dough or decorating cookies, they’ll enjoy every moment of the process.
A Fun Learning Experience
As you bake these cookies, there are plenty of opportunities to teach your children about colors, textures, and even the meaning behind the Lorax’s message. Baking can be educational as well as fun, and it’s a great way to spark creativity in the kitchen. Plus, when the cookies are done, your kids will feel a sense of accomplishment as they proudly share their Lorax-themed creations with family and friends.
Essential Ingredients for Your Lorax Cookie Recipe
To get started, gather the following ingredients for your Lorax cookies. You likely already have most of them in your pantry, and the rest are easily available at your local grocery store.
| Ingredient | Amount | Notes |
|---|---|---|
| All-purpose flour | 2 cups | Standard all-purpose flour works best |
| Baking powder | 1 tsp | Helps the cookies rise and stay soft |
| Butter | 1 cup | Softened to room temperature |
| Sugar | 1 cup | Granulated sugar for sweetness |
| Eggs | 2 large | Helps bind the dough together |
| Vanilla extract | 1 tsp | Adds flavor to the dough |
| Food coloring | Various | Green, orange, and any other colors you like for decoration |
Key Points for Success:
- Fresh Ingredients: For the best flavor and texture, be sure to use fresh, high-quality ingredients.
- Custom Colors: If you want to add a creative touch, feel free to experiment with different food colors to match your favorite Lorax character traits (green for the Lorax’s fur, orange for Truffula trees, etc.).
- Substitutions: If you prefer a gluten-free or vegan option, you can easily swap the all-purpose flour with a gluten-free flour blend or the butter with plant-based alternatives.
Step-by-Step Instructions for the Lorax Cookie Recipe
Preparing the Cookie Dough
Now that you’ve got your ingredients ready, it’s time to start making the dough.
- Preheat Your Oven: Set your oven to 350°F (175°C). This will allow your cookies to bake evenly and turn golden brown.
- Cream the Butter and Sugar: In a large mixing bowl, combine the softened butter and sugar. Use a hand mixer or stand mixer to beat them together until the mixture is light and fluffy.
- Add Eggs and Vanilla: Crack in the eggs and pour in the vanilla extract. Mix again until everything is well combined.
- Combine Dry Ingredients: In a separate bowl, whisk together the all-purpose flour and baking powder. Gradually add the dry ingredients to the wet mixture, stirring until the dough forms.
Adding Fun Lorax Colors
Now comes the exciting part—adding color to your dough! This is where your kids can get creative.
- Divide the Dough: Divide the dough into separate bowls based on how many colors you’d like to use. You can start with just two colors, like green for the Lorax and orange for Truffula trees, or make several colors for a fun mix.
- Add Food Coloring: Add a few drops of food coloring to each bowl. Mix the colors in well, and soon enough, you’ll have a rainbow of dough ready for shaping.
Shaping the Cookies
With the dough ready, it’s time to shape the cookies. Here’s where you can get creative!
- Roll the Dough: You can either roll the dough into small balls and flatten them with the palm of your hand, or use cookie cutters in fun shapes. You could use a Lorax-shaped cookie cutter if you have one, or create simple round cookies and decorate them later.
- Arrange on Baking Sheet: Line a baking sheet with parchment paper and place the shaped cookie dough on it. Leave enough space between each cookie, as they will spread slightly while baking.
Baking the Cookies
It’s time to bake your cookies to perfection!
- Bake in Preheated Oven: Place your cookie sheet in the oven and bake for about 10-12 minutes, or until the edges of the cookies are golden brown. Keep an eye on them to avoid overbaking.
- Cool the Cookies: Once done, remove the cookies from the oven and let them cool on a wire rack. This will ensure they firm up and are ready for decorating.
Decorating Your Lorax Cookies
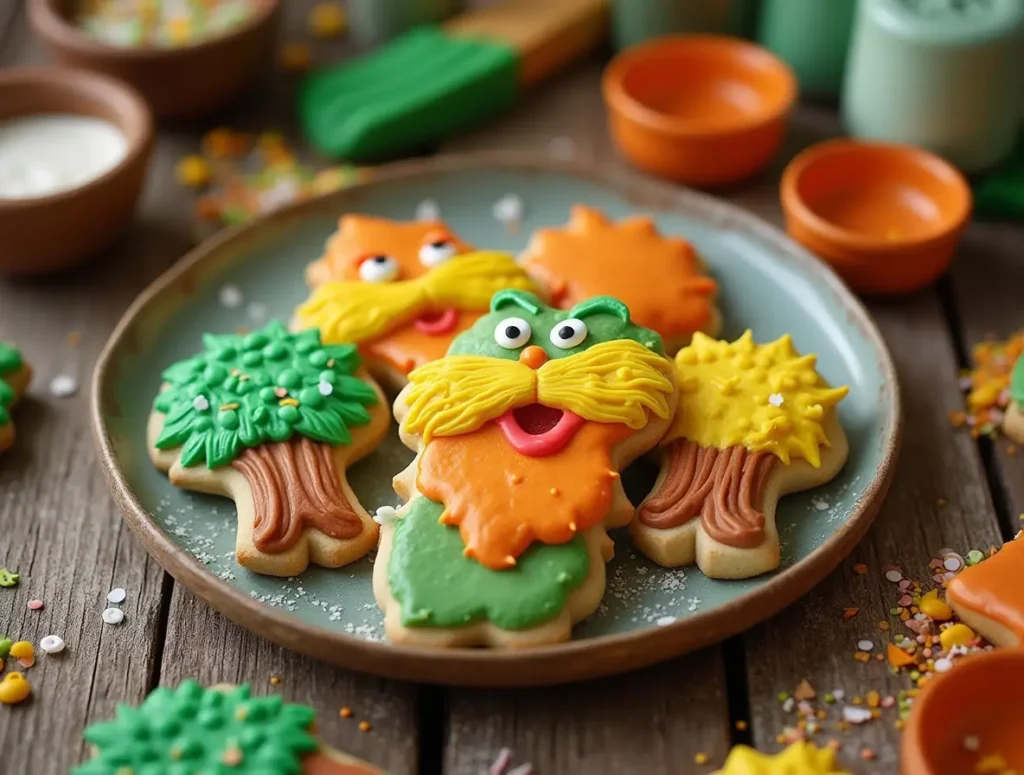
After your cookies have cooled, it’s time to decorate them! Here are some fun ideas for making your cookies look like they came straight from the world of The Lorax:
- Create Truffula Trees: Use colorful sprinkles or icing to create “Truffula trees” on your cookies. You can pipe out bright yellow and pink icing to mimic the trees’ fluffy tops.
- Make Lorax Faces: Use icing to draw Lorax’s signature mustache and eyes. Small candies like chocolate chips can also be used for the eyes, while a swirl of yellow icing can serve as his iconic fur.
- Get Creative: Encourage your kids to add their own touches, such as stars, hearts, or other fun patterns.
Tips for a Perfect Lorax Cookie Experience
Keep It Simple for Kids
Make sure the recipe is fun for everyone. Let your children help with every step of the process, from mixing the dough to decorating the cookies. This is an excellent opportunity to bond over a shared activity.
Cookie Storage
Store your cookies in an airtight container to keep them fresh. If you have leftovers, they should stay good for up to a week. You can also freeze the dough before baking, so you can enjoy fresh cookies at a later time.
Add Extra Sweetness
Want to make your cookies even more special? Try adding chocolate chips, M&Ms, or candy sprinkles to the dough for an extra burst of sweetness.
Frequently Asked Questions About the Lorax Cookie Recipe
Can I Make the Lorax Cookies Ahead of Time?
Yes! You can prepare the dough in advance and refrigerate it for up to 24 hours. If you want to keep it for longer, simply freeze the dough and thaw it when you’re ready to bake.
What If I Don’t Have Food Coloring?
Not a problem! You can either make plain cookies or use natural alternatives to color your dough. For example, you can try spinach juice for green or beet juice for pink.
Can I Use a Cookie Cutter for the Lorax Shape?
Absolutely! If you have a Lorax-shaped cookie cutter, it’ll make your cookies even more fun. But if you don’t, no worries—simple round cookies decorated with icing can still capture the essence of the Lorax.
Conclusion: Making Memories with Lorax Cookies
Baking Cookies with your kids is more than just a way to enjoy a sweet treat; it’s an opportunity to create lasting memories and connect with your children in a meaningful way. With this easy and fun Lorax cookie recipe, you can bring the magic of Dr. Seuss into your home, all while bonding over a delicious, colorful creation.
So gather your ingredients, invite your kids into the kitchen, and start baking! Whether you’re celebrating a special occasion or simply enjoying a weekend afternoon together, these Lorax cookies are sure to bring joy and sweetness to your family. Don’t forget to share your creations with us—tag your Lorax cookies on social media, and let’s keep spreading the joy of baking with kids!